
If chocolate and peanut butter is your favorite combination, this peanut butter bark is going to make you very happy. A layer of melted semisweet chocolate is swirled with a creamy peanut butter and white chocolate mixture, then loaded with chopped peanut butter cups, salted peanuts and a pinch of flaky salt. It sets in the fridge in about an hour, with no oven and no candy thermometer.
In this post I share why this peanut butter cup bark sets firm and snaps cleanly, which chocolate to buy, how to melt it without scorching and how to make pretty swirls. You will also find variations, a troubleshooting table, storage and gifting tips and answers to common questions. The full printable recipe card is at the bottom of the post.
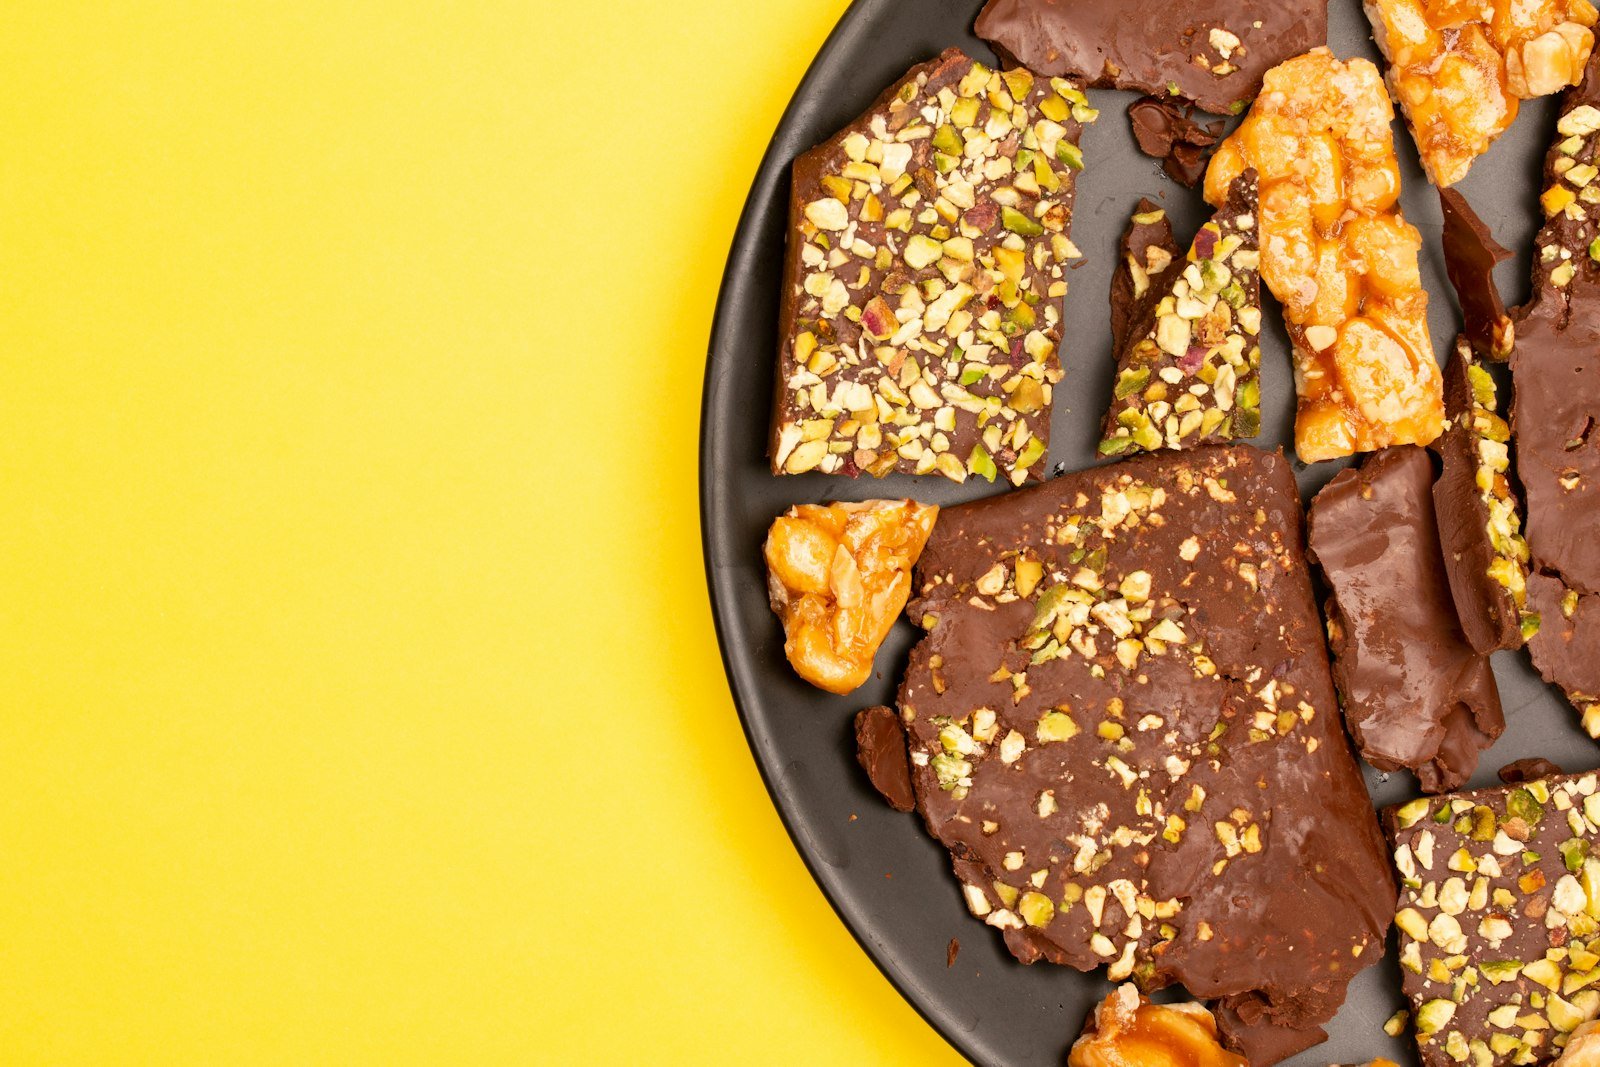
Why This Peanut Butter Bark Works
Plain peanut butter does not set firm on its own, so a lot of peanut butter bark recipes end up soft, greasy or sticky. This version uses a few simple tricks to get a candy that snaps cleanly and still tastes intensely of peanut butter.
- Peanut butter mixed with white chocolate. Melting the peanut butter with white chocolate gives it enough cocoa butter to set firm at cool room temperature.
- Semisweet chocolate base. A slightly bitter chocolate balances the sweet peanut butter and candy topping.
- Gentle melting. Short bursts in the microwave keep the chocolate smooth, glossy and free of lumps.
- Toppings pressed in while soft. Chopped peanut butter cups and peanuts stick firmly instead of falling off when you break the bark.
- A thin, even layer. About 1/4 inch thick means it chills quickly and breaks into neat shards.
I love making this bark in December because it takes about 15 minutes of hands-on time and fills a whole pan. It is a great recipe for kids to help with, too, since the toppings are the fun part and nothing gets dangerously hot.
Ingredients You Will Need
Good chocolate makes a real difference in a recipe this simple. Bars or melting wafers are smoother than chocolate chips, which contain stabilizers that help them keep their shape.
- Semisweet chocolate: Chopped bars or melting wafers. Bittersweet or milk chocolate work if you prefer.
- White chocolate: Chopped bars or wafers. This helps the peanut butter layer set.
- Creamy peanut butter: A regular no-stir creamy peanut butter works best. Natural peanut butter separates and can make the bark oily.
- Peanut butter cups: Mini cups or chopped regular cups. Chill them first so they cut cleanly.
- Salted peanuts: Roughly chopped for crunch and a salty contrast.
- Flaky sea salt: Optional, but a light sprinkle makes the flavors pop.
How to Make Peanut Butter Cup Bark
Have the pan lined and your toppings chopped before you melt anything. Chocolate starts to set quickly once it is spread, so you want to work in one smooth flow.
- Prep the pan. Line a 9 by 13-inch rimmed baking sheet or quarter sheet pan with parchment paper.
- Melt the dark chocolate. Microwave the semisweet chocolate in a microwave-safe bowl at 50 percent power in 30-second bursts, stirring after each, until almost melted. Stir until completely smooth.
- Spread the base. Pour the chocolate onto the parchment and spread it into an even layer about 1/4 inch thick.
- Melt the peanut butter layer. In a second bowl, microwave the white chocolate and peanut butter at 50 percent power in 30-second bursts, stirring until smooth.
- Swirl. Drop spoonfuls of the peanut butter mixture over the chocolate. Drag a toothpick or butter knife through both layers to make swirls.
- Add the toppings. Scatter the chopped peanut butter cups and peanuts over the top and press them gently into the soft chocolate. Sprinkle with flaky salt.
- Chill. Refrigerate for about 1 hour, until completely firm.
- Break. Lift the bark out by the parchment and break or cut it into about 24 pieces.

Do not over-swirl. Three or four passes through the layers create pretty marbled ribbons. Too many and the colors blend into one muddy brown layer.
Tips for the Best Chocolate Peanut Butter Bark
- Keep every bowl and spoon completely dry. Even a drop of water can make chocolate seize into a thick paste.
- Melt at half power and stop when a few small pieces remain. Stirring melts the rest without overheating.
- Spread the chocolate to the same thickness everywhere so the bark breaks evenly.
- Press toppings in while the chocolate is still soft, within the first few minutes.
- Let the bark sit at room temperature for 5 minutes before cutting so it does not shatter into crumbs.
- Use the swirl mixture while it is still warm and fluid. If it thickens in the bowl, microwave it for 10 seconds at half power and stir before spooning it over the chocolate.
If your chocolate does seize, stir in a teaspoon of neutral oil or melted coconut oil at a time until it loosens. It will not be quite as snappy, but it will still taste great.
Peanut butter bark makes a perfect candy tray with snappy layered peppermint bark, classic chocolate-dipped buckeyes and an easy slow cooker batch of crockpot peanut clusters. For a baked treat, try my fudgy no-fuss chocolate peanut butter bars or browse the full dessert recipe archive.
Choosing the Best Chocolate for Bark
Since chocolate is the main ingredient, quality matters. Baking bars and melting wafers have a higher percentage of cocoa butter, so they melt into a fluid, glossy layer that sets with a clean snap. Chocolate chips work in a pinch, but they are made to hold their shape and can be thick and dull once melted.
Look for a semisweet chocolate between 55 and 62 percent cacao for a balanced flavor. Milk chocolate makes a sweeter, softer bark that kids love, and dark chocolate around 70 percent makes it more grown-up. For the white chocolate, check that cocoa butter is listed in the ingredients. Candy coating made with other fats will still set, but it tastes waxier.
How to Break Bark Into Neat Pieces
Some people love rustic, jagged shards, while others want tidy squares for a gift box. Both are easy once the bark is fully chilled, and the method you choose mostly comes down to how you plan to serve it.
- Rustic shards: Lift the slab by the parchment, set it on a cutting board and snap it into irregular pieces with your hands.
- Neat squares: Let the bark sit for 5 minutes, then cut straight down with a large chef knife warmed under hot water and wiped dry.
- Bite-size pieces: Cut 1-inch squares and serve them in mini paper candy cups on a dessert platter.
Handle the pieces as little as possible once they are cut. Warm fingers leave prints on the chocolate, so use a spatula to move them into containers.
Easy Variations
- Pretzel crunch: Add 1 cup broken mini pretzels with the peanut butter cups for a sweet and salty bark.
- Holiday colors: Sprinkle red and green candy-coated chocolates or sprinkles over the top.
- Triple chocolate: Drizzle 2 ounces melted milk chocolate over the finished bark before chilling.
- Crunchy peanut butter: Use crunchy peanut butter in the swirl for extra texture.
- Banana chips: Press in a handful of broken banana chips for an Elvis-inspired twist.
Common Mistakes and How to Fix Them
| Problem | Likely cause | How to fix it |
|---|---|---|
| Chocolate turned thick and grainy | Overheated or touched by water | Melt at 50 percent power and keep tools dry. Stir in a little oil to loosen. |
| Peanut butter layer stays soft | Plain or natural peanut butter used | Mix the peanut butter with white chocolate and use a no-stir creamy brand. |
| Toppings fall off | Added after chocolate set | Press toppings in within a few minutes of spreading. |
| Bark shatters into crumbs | Cut straight from the fridge | Let it sit 5 minutes, then cut with a large warm knife. |
| White streaks on the chocolate | Temperature swings or moisture | Store airtight in a cool spot. The streaks are harmless. |
Storage, Gifting and Allergy Safety
Store peanut butter bark in an airtight container with parchment between the layers. It keeps in the refrigerator for up to 2 weeks or at cool room temperature for about 5 days, as long as your kitchen is not warm. You can also freeze it for up to 2 months and thaw it in the fridge so the chocolate does not sweat.
For gifts, pack the bark in tins or cellophane bags tied with ribbon and keep it cool until delivery. Because peanuts are a major food allergen, always label homemade candy clearly and keep it away from nut-free treats. The FDA guide to food allergies is a helpful reference when baking for a crowd.
Planning Holiday Candy Making
With Thanksgiving on November 26 and Christmas on December 25, a big batch of candy is a lifesaver for neighbor gifts, teacher presents and cookie swaps. Because this bark keeps for 2 weeks in the fridge, you can make it early and check it off your list.
- Two weeks ahead: Buy chocolate, peanut butter cups and gift tins.
- Up to 10 days ahead: Make the bark, break it into pieces and refrigerate airtight.
- A few days ahead: Pack the pieces into bags or tins with labels.
- Party day: Set out a plate of bark straight from the fridge, then let it sit for 10 minutes before guests arrive.
If you are making several kinds of candy, start with this bark and the peppermint bark on the same afternoon. They use the same pan, the same parchment and the same melting method, so you can line up the bowls and work through both batches in under an hour.
Frequently Asked Questions
Why is my peanut butter bark soft?
Plain peanut butter does not set firm. Mixing it with melted white chocolate and chilling the bark for a full hour keeps it snappy.
Can I use chocolate chips?
Yes, but bars or melting wafers melt smoother and give a glossier finish with a cleaner snap.
Can I use natural peanut butter?
It tends to separate and make the bark oily. A creamy no-stir peanut butter gives the best results.
Does peanut butter bark need to be refrigerated?
It can stay at cool room temperature for a few days, but the fridge keeps it firm and fresh for up to 2 weeks.
How long does peanut butter cup bark last?
Up to 2 weeks in the refrigerator or up to 2 months in the freezer, stored airtight.
Ready to make it? Here is the full printable peanut butter bark recipe with exact measurements and estimated nutrition.
Peanut Butter Cup Bark
Ingredients
Method
- Line a 9 by 13-inch rimmed baking sheet with parchment paper.
- Microwave the semisweet chocolate at 50 percent power in 30-second bursts, stirring after each, until smooth.
- Spread the chocolate on the parchment in an even layer about 1/4 inch thick.
- Microwave the white chocolate and peanut butter at 50 percent power in 30-second bursts, stirring until smooth.
- Drop spoonfuls of the peanut butter mixture over the chocolate and swirl with a toothpick.
- Scatter the peanut butter cups and peanuts over the top, press in gently and sprinkle with flaky salt.
- Refrigerate for about 1 hour, until firm, then break or cut into about 24 pieces.
Notes
I hope this peanut butter bark becomes a sweet new tradition on your holiday candy tray. If you make it, please leave a comment and a star rating below and tell me which toppings you used. Happy holidays, friends. Chef Amber
Free email bonus
30-Minute Meals
Loved this recipe? Get my collection of fast, family-favorite dinners, plus new seasonal recipes straight to your inbox.