
Few holiday treats look as festive or taste as refreshing as peppermint bark. A snappy layer of dark chocolate, a creamy layer of white chocolate scented with peppermint and a crunchy shower of crushed candy canes come together in about 20 minutes of hands-on time, with no oven and no candy thermometer needed.
In this post I share why this homemade peppermint bark works, which chocolate to buy, how to melt and layer it so the layers stay together, and how to cut clean, pretty pieces. You will also find variations, a troubleshooting table, storage and gifting tips, a holiday plan and answers to common questions. The full printable recipe card is at the bottom of the post.
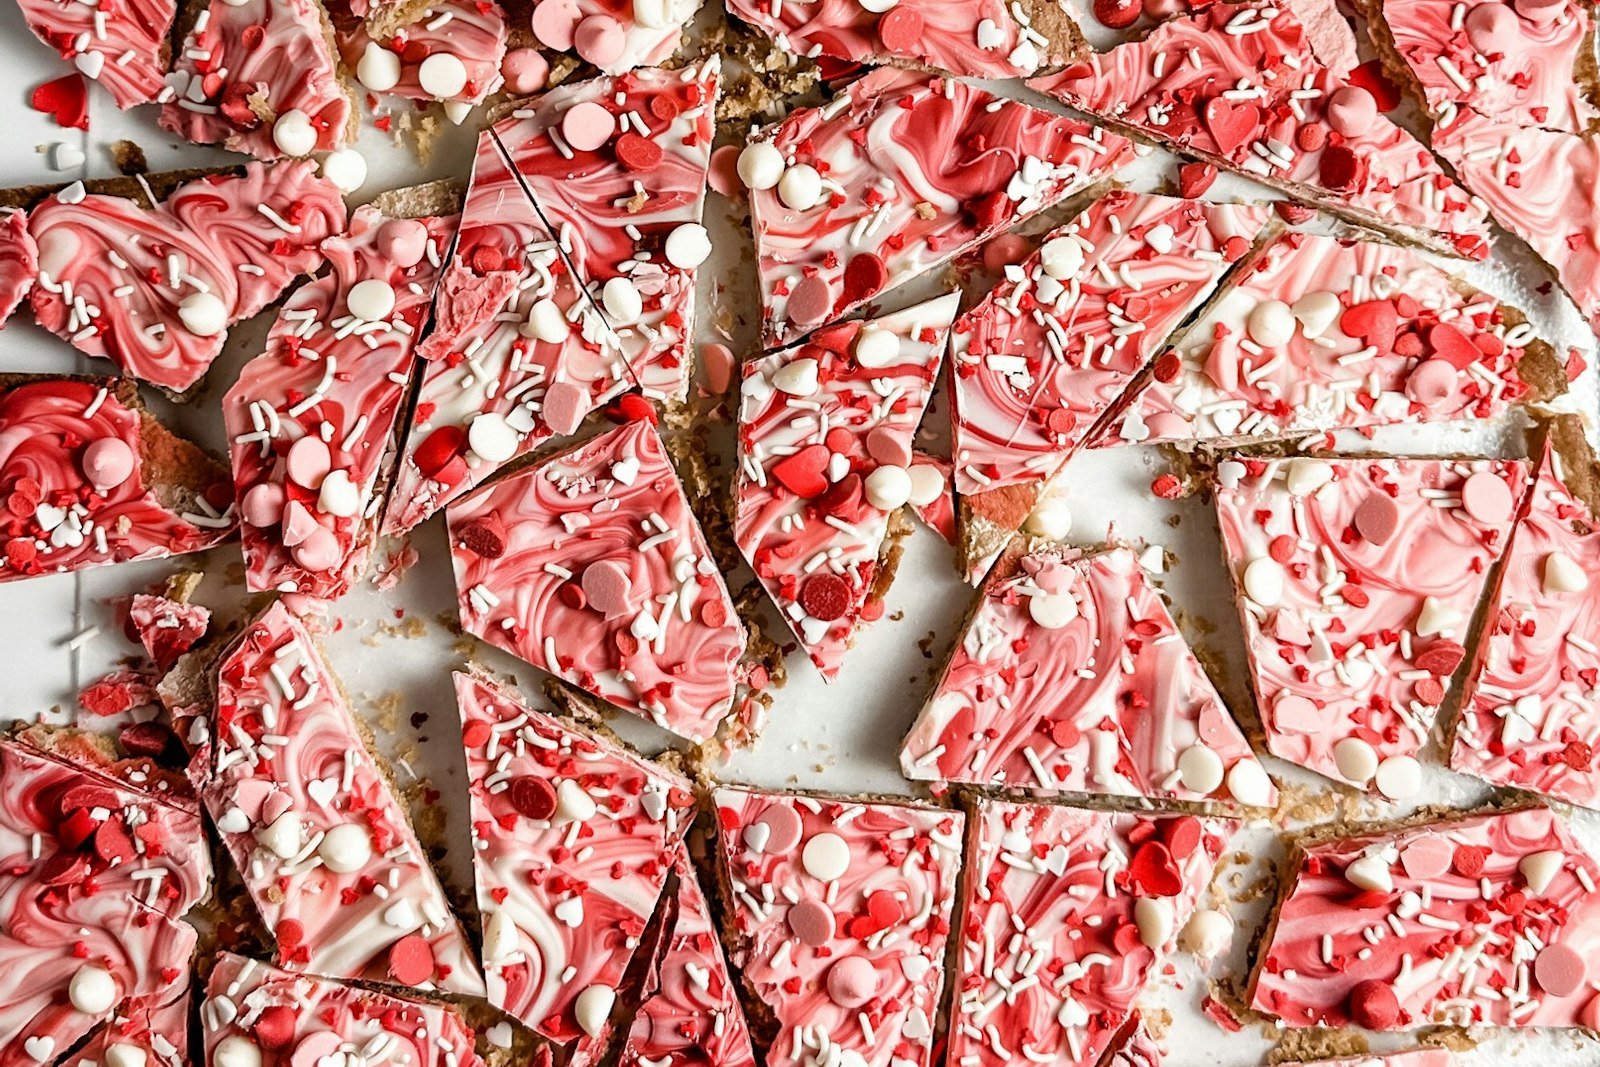
Why This Peppermint Bark Recipe Works
Peppermint bark seems simple, and it is, but a few small details separate a glossy, snappy bark from one that is soft, streaky or falls apart into two separate layers. This recipe is built around those details.
- Good chocolate bars. Chopped baking bars melt more smoothly than chips, which contain stabilizers that keep them from flowing.
- Gentle melting. Short bursts in the microwave at reduced power protect the chocolate, especially the delicate white chocolate.
- Perfect timing between layers. The dark chocolate chills only until it is just set, so the white layer bonds to it instead of sliding off.
- Peppermint in the white layer. A little extract flavors the creamy layer without overpowering the dark chocolate.
- Candy canes pressed in while warm. The crushed candy sticks to the soft chocolate so it does not fall off when you cut the bark.
The result is a candy that looks like it came from a fancy holiday catalog but costs a fraction of the price. It keeps for weeks, ships well and is one of the easiest edible gifts you can make with kids.
Ingredients You Will Need
With only a handful of ingredients, quality matters. Read the labels and look for chocolate that lists cocoa butter near the top of the ingredient list.
- Semisweet or bittersweet chocolate: Twelve ounces of chopped bars for the bottom layer. Choose 55 to 65 percent cacao for a balance of sweet and rich.
- White chocolate: Twelve ounces of chopped bars. Real white chocolate contains cocoa butter; avoid candy melts or white baking chips labeled confectionery coating if you want true flavor.
- Peppermint extract: Just a little goes a long way. Start with 1/2 teaspoon and taste.
- Candy canes: About six regular candy canes, crushed, or 1/2 cup of crushed peppermint candies.
Choosing and Melting the Chocolate
You do not need to temper the chocolate for great homemade peppermint bark, but you do need to melt it carefully. Overheated chocolate turns thick, grainy and dull, and white chocolate burns especially easily.
- Chop finely. Small, even pieces melt quickly and evenly without hot spots.
- Use low power. Microwave dark chocolate at 50 percent power in 30-second bursts and white chocolate in 20-second bursts, stirring well each time.
- Stop early. Remove the bowl when a few small lumps remain and stir until they melt from the residual heat.
- Keep it dry. Even a drop of water can make chocolate seize, so use a dry bowl and spatula.
- Double boiler option. If you prefer the stovetop, melt the chocolate in a heatproof bowl set over barely simmering water, without letting the bowl touch the water.
Because the chocolate is not tempered, the finished bark is best kept cool. It will still snap cleanly straight from the fridge or a cool room, and the flavor is just as good.
How to Make Peppermint Bark
Have everything measured and the pan lined before you start melting. The layers come together quickly, and timing between them is the most important part of the recipe.
- Line the pan. Line a 9 by 13-inch baking pan with parchment paper, leaving some overhang on the long sides so you can lift the bark out later.
- Melt the dark chocolate. Microwave the chopped semisweet chocolate at 50 percent power in 30-second bursts, stirring after each, until smooth.
- Spread the first layer. Pour the dark chocolate into the pan and spread it into an even layer with an offset spatula.
- Chill briefly. Refrigerate for 15 to 20 minutes, just until the chocolate is set but not hard and cold.
- Melt the white chocolate. Microwave the chopped white chocolate at 50 percent power in 20-second bursts, stirring well, until smooth. Stir in the peppermint extract.
- Add the second layer. Pour the white chocolate over the dark layer and spread it gently to the edges.
- Top with candy canes. Immediately scatter the crushed candy canes over the top and press them lightly into the chocolate.
- Chill until firm. Refrigerate for about 1 hour, until completely set.
- Cut the bark. Lift the bark out using the parchment, let it sit for 5 minutes, then cut it into squares or break it into rustic shards.
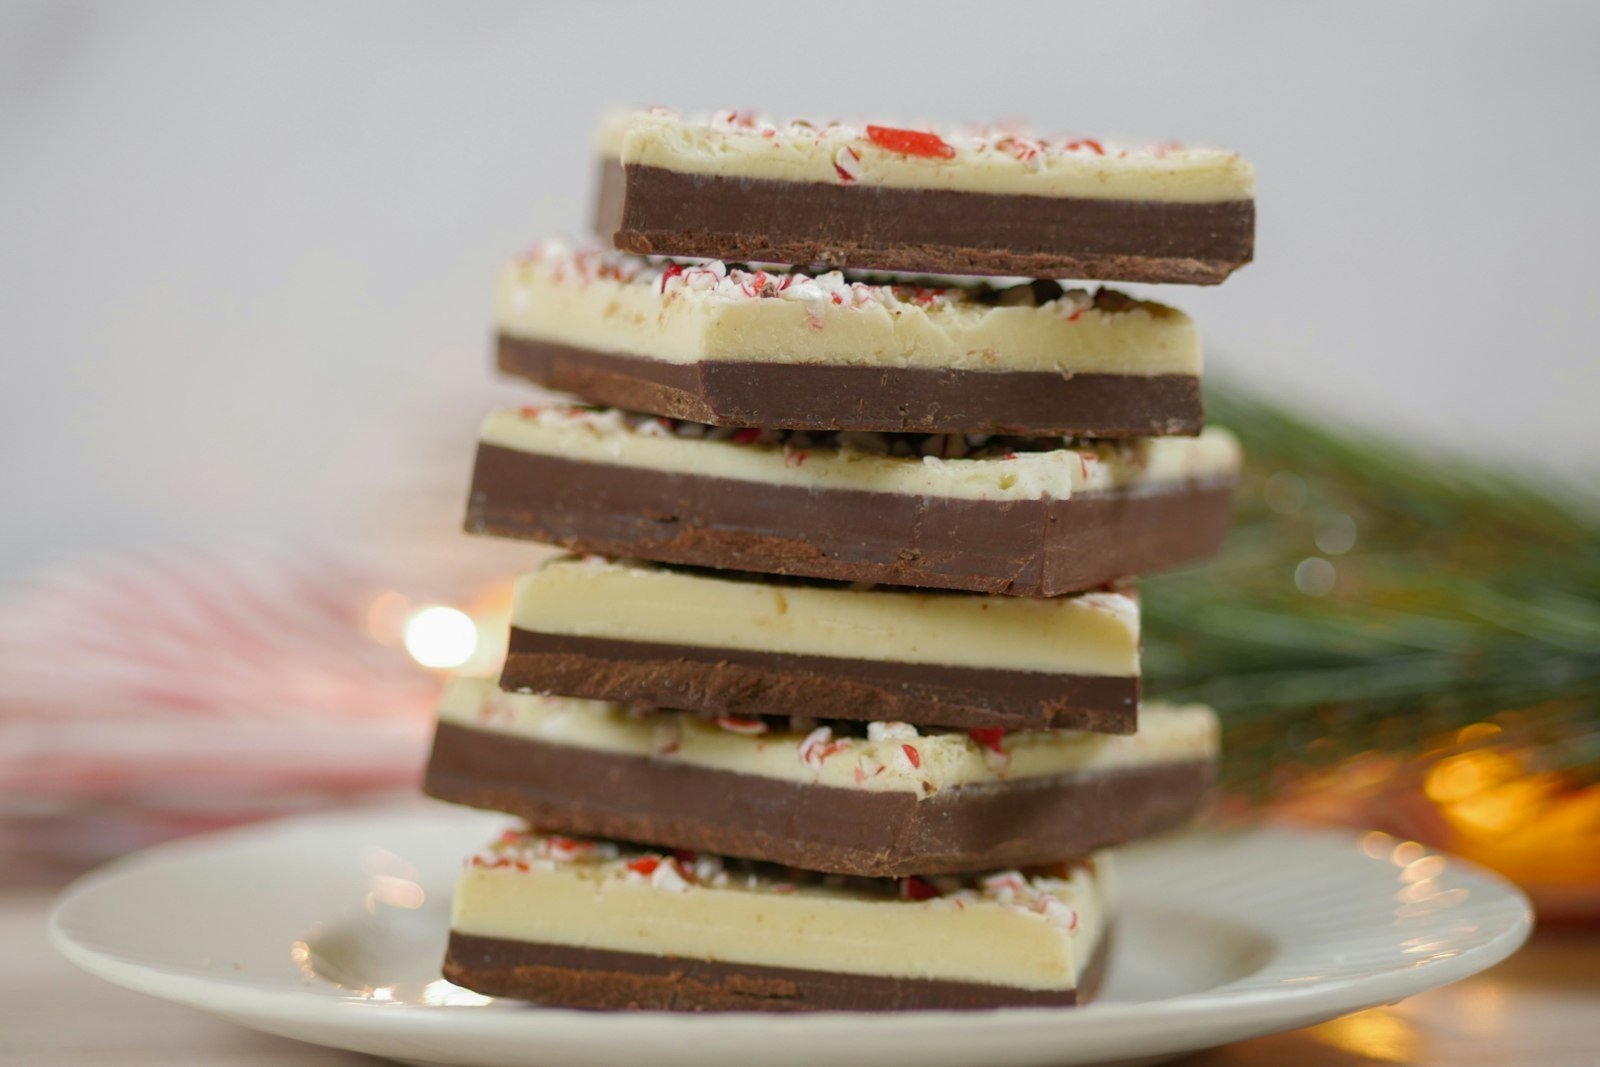
If the dark layer gets too cold and hard, the layers may separate when you cut the bark. Let an overchilled pan sit at room temperature for 5 to 10 minutes before adding the white chocolate.
Tips for the Best Homemade Peppermint Bark
- Spread each layer to an even thickness so the bark sets uniformly and cuts cleanly.
- Add peppermint extract a little at a time. Too much tastes medicinal rather than fresh.
- Sift out the candy cane dust before sprinkling for clean, sparkly pieces.
- Use a large chef’s knife warmed in hot water and wiped dry for neat squares.
- Handle the cut pieces as little as possible, since warm hands leave fingerprints on untempered chocolate.
Peppermint bark is a star on any holiday candy tray. Pair it with buttery saltine toffee Christmas crack, rich easy chocolate fudge and chocolate-dipped peanut butter buckeyes, or explore my full holiday recipe collection for more seasonal ideas.
Easy Variations
- Triple layer bark: Spread a thin layer of dark chocolate, then white chocolate, then another drizzle of dark chocolate for a striped look.
- Milk chocolate bark: Use milk chocolate for the bottom layer for a sweeter, kid-friendly version.
- Swirled bark: Spoon both melted chocolates into the pan at the same time and swirl with a skewer before adding the candy canes.
- Cookie crunch: Scatter crushed chocolate sandwich cookies with the candy canes for a cookies-and-cream twist.
- Mint chip: Tint the white chocolate pale green with oil-based food coloring and sprinkle with mini chocolate chips.
Fun Ways to Serve and Use Peppermint Bark
A batch of peppermint bark goes a long way, and it is not only for candy trays. Once you have a tin in the fridge, you will find all kinds of ways to use it through the season.
- Hot chocolate topper: Drop a small piece into a mug of hot cocoa and stir as it melts for an instant peppermint mocha flavor.
- Ice cream sundaes: Chop the bark and sprinkle it over vanilla or chocolate ice cream with hot fudge.
- Cookie mix-in: Fold chopped bark into brownie batter or chocolate cookie dough instead of chips.
- Dessert garnish: Tuck shards into frosted cupcakes or the top of a chocolate cake for a festive look.
- Hostess gift: Pair a small bag of bark with a box of good cocoa mix for an easy, thoughtful present.
For another snackable holiday treat, my chocolate and peanut butter coated sweet puppy chow snack mix is just as easy to pack into gift bags.
Common Mistakes and How to Fix Them
| Problem | Likely cause | How to fix it |
|---|---|---|
| Layers separate when cut | Dark layer chilled too long | Chill only until just set and let an overchilled layer warm slightly. |
| Thick, grainy white chocolate | Overheated or touched by water | Melt at low power in short bursts and keep everything dry. |
| Bark melts at room temperature | Untempered chocolate in a warm room | Store the bark in the fridge or a cool spot. |
| Candy canes turn sticky | Humidity | Store the bark airtight and add the candy just before chilling. |
| Cloudy, dusty top | Fine candy cane powder | Sift the crushed candy before sprinkling. |
| Messy, shattered squares | Bark too cold or knife too dull | Let it rest 5 minutes and use a warm, dry chef’s knife. |
Storage and Gifting
Store peppermint bark in an airtight container with parchment between the layers. Keep it in a cool, dry place for up to 2 weeks or in the refrigerator for up to 3 weeks, especially if your kitchen is warm. Humidity makes candy canes sticky, so always seal the container tightly. The FDA tips on storing food safely are a helpful reference for keeping holiday treats fresh.
For gifts, pack the pieces in cellophane bags, tins or small boxes lined with parchment and keep them cool until delivery. Bark can also be frozen for up to 2 months in an airtight container; thaw it in the refrigerator overnight so condensation does not form on the surface.
Planning Peppermint Bark for the Holidays
With Thanksgiving on November 26 and Christmas on December 25, peppermint bark is one of the most flexible make-ahead treats of the season. It is also a fun project for a cozy afternoon of holiday gift-making.
- Two to three weeks ahead: Make a large batch, cut it and store it airtight in the refrigerator.
- One week ahead: Pack the bark into tins or bags and label them for teachers, neighbors and friends.
- Party day: Arrange the pieces on a platter straight from the fridge so they stay snappy.
Frequently Asked Questions
Do I need to temper the chocolate?
No. Tempering gives a shinier finish and room-temperature snap, but untempered bark tastes just as good. Simply store it in a cool place or the refrigerator.
Why did my peppermint bark layers separate?
The dark chocolate layer was too cold and hard when the white chocolate went on. Chill it only until just set.
Can I use chocolate chips?
You can, but chips contain stabilizers and melt less smoothly. Chopped baking bars give a creamier texture and cleaner layers.
How do I keep the candy canes from getting sticky?
Store the bark in a tightly sealed container away from humidity, and sift the crushed candy before sprinkling it on.
How long does homemade peppermint bark last?
It keeps for up to 2 weeks in a cool, dry place, up to 3 weeks in the refrigerator or up to 2 months in the freezer.
Ready to make it? Here is the full printable peppermint bark recipe with exact measurements and estimated nutrition.
Peppermint Bark
Ingredients
Method
- Line a 9 by 13-inch pan with parchment paper, leaving overhang on the long sides.
- Microwave the semisweet chocolate at 50 percent power in 30-second bursts, stirring after each, until smooth.
- Spread the dark chocolate evenly in the pan and refrigerate for 15 to 20 minutes, just until set.
- Microwave the white chocolate at 50 percent power in 20-second bursts, stirring well, until smooth. Stir in the peppermint extract.
- Pour the white chocolate over the dark layer and spread it gently to the edges.
- Sprinkle the crushed candy canes evenly over the top and press them in lightly.
- Refrigerate for about 1 hour, until completely firm.
- Lift the bark from the pan, let it rest 5 minutes, then cut into squares or break into pieces.
Notes
I hope this homemade peppermint bark becomes part of your holiday traditions. If you make a batch, please leave a comment and a star rating below and tell me who you are gifting it to. Happy holidays, friends. Chef Amber
Free email bonus
30-Minute Meals
Loved this recipe? Get my collection of fast, family-favorite dinners, plus new seasonal recipes straight to your inbox.