
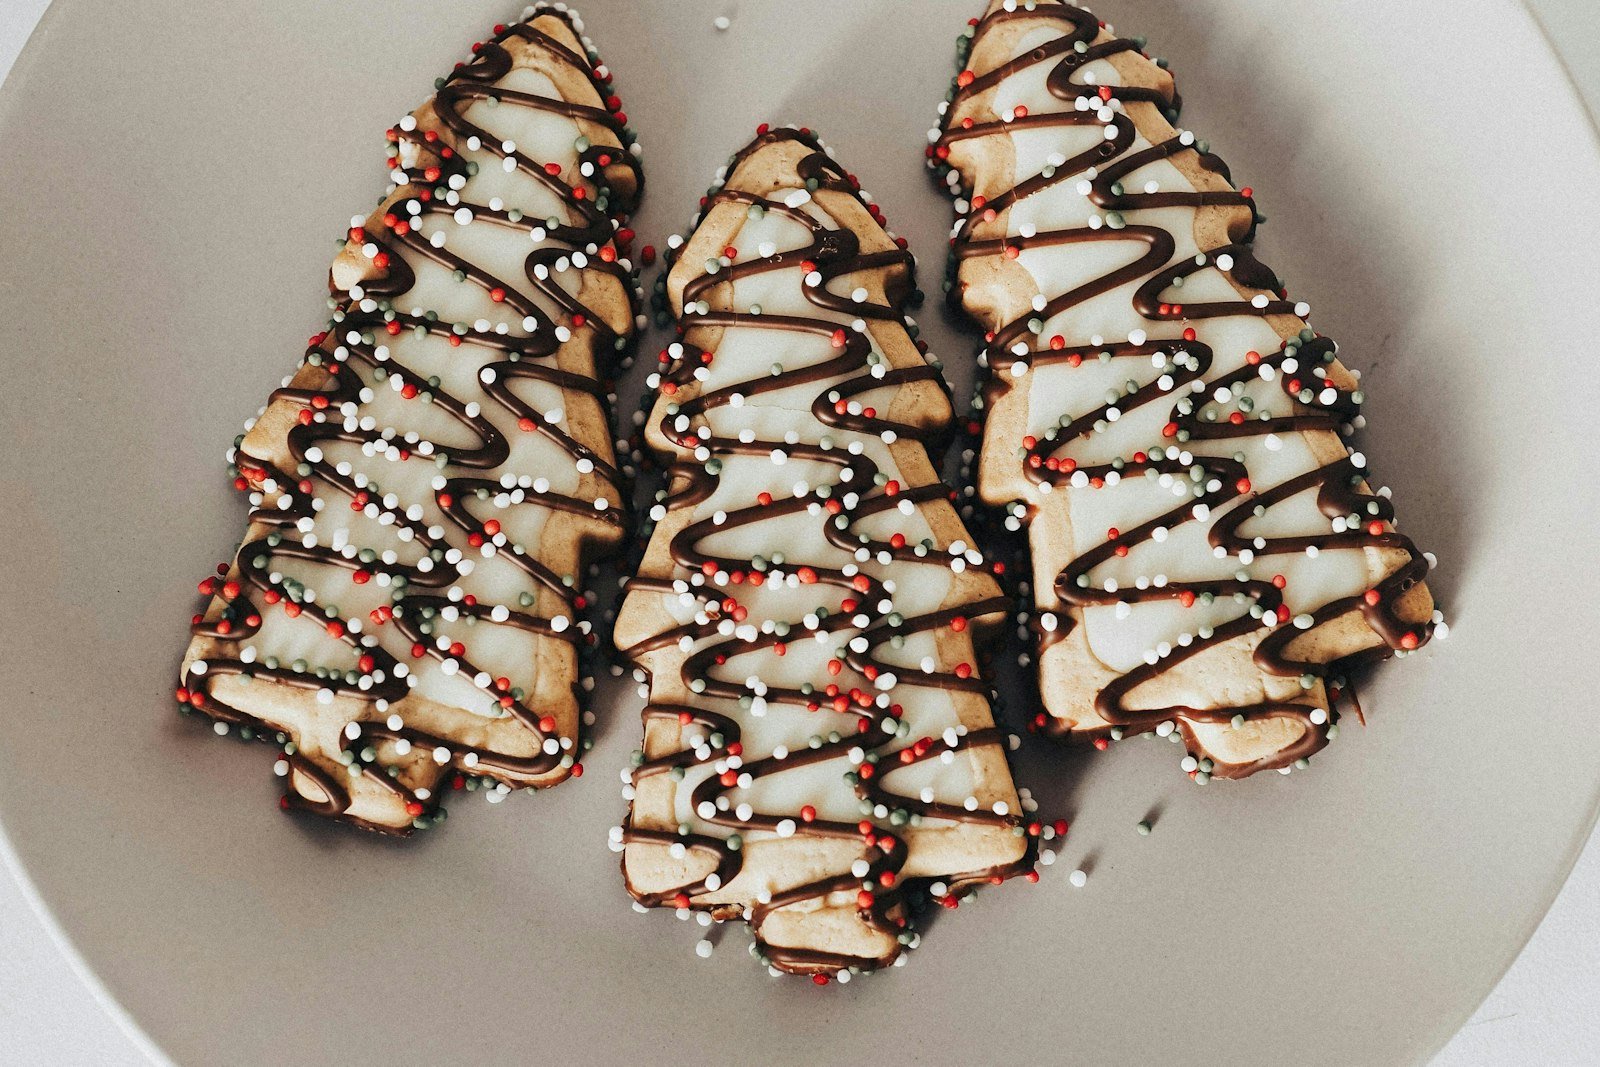
These christmas tree brownies are one of the most cheerful treats you can put on a holiday dessert table. Rich, fudgy homemade brownies are cut into little triangles, piped with zigzags of green buttercream, dotted with sprinkle ornaments and finished with a pretzel stick trunk. They look adorable, taste even better and are a fun decorating project to share with kids.
Below I share my one-bowl fudgy brownie base, the easiest way to cut a pan of brownies into trees with very little waste, and simple piping tricks that work even without fancy tips. You will also find decorating ideas, a troubleshooting table and make-ahead tips. The printable recipe card is waiting at the bottom of the post.
Why These Brownie Christmas Trees Work
Holiday treats need to look festive, travel well and taste great, and these little trees deliver on all three.
- A sturdy, fudgy brownie. This one-bowl brownie is dense enough to cut into clean triangles but still rich and moist in the center.
- Smart cutting. Cutting long strips and then alternating triangles uses almost the whole pan, so you get about 20 trees with very few scraps.
- Stable buttercream. A slightly stiff frosting pipes clean lines that hold their shape at room temperature.
- Easy decorations. Sprinkles, star candies and pretzel sticks are all you need for a polished, bakery-style look.
- Chilling before cutting. Cold brownies cut with sharp, neat edges, which makes the trees look crisp and tidy.
Everything can be made ahead, so these are perfect for school parties, cookie trays and Christmas Eve dessert boards.
Ingredients You Will Need
The brownies use simple pantry staples. Have the eggs at room temperature so they blend smoothly into the warm butter mixture.
- Unsalted butter: Melted, for a dense, fudgy texture and rich flavor.
- Granulated sugar: Whisked well with the warm butter and eggs, it creates that shiny, crackly top.
- Eggs and vanilla: Four large eggs give structure, and vanilla rounds out the chocolate.
- Unsweetened cocoa powder: Natural or Dutch-process both work. Dutch-process gives a darker color and smoother flavor.
- All-purpose flour: Just enough to hold the brownies together, so they stay fudgy.
- Salt: Brings out the chocolate flavor.
- Chocolate chips: Optional, for little pockets of melted chocolate.
- For the frosting: Softened butter, powdered sugar, a splash of milk, vanilla and green gel food coloring.
- For decorating: Pretzel sticks, rainbow nonpareils or mini candy-coated chocolates, and yellow star sprinkles.
How to Make Christmas Tree Brownies
Bake the brownies first and let them cool completely. Then chill, cut and decorate in about 30 minutes.
- Prep the pan. Heat the oven to 350°F (175°C). Grease a 9×13-inch pan and line it with a parchment sling.
- Mix the wet ingredients. Whisk the melted butter and sugar in a large bowl. Whisk in the eggs one at a time, then the vanilla, until glossy and slightly thickened.
- Add the dry ingredients. Sift in the cocoa, then add the flour and salt and fold just until no streaks remain. Fold in the chocolate chips if using.
- Bake. Spread the batter evenly and bake for 25 to 30 minutes, until the edges are set and a toothpick in the center comes out with a few moist crumbs.
- Cool and chill. Cool completely in the pan, about 1 hour, then refrigerate for 30 minutes so the brownies cut cleanly.
- Make the frosting. Beat the butter until creamy, add the powdered sugar, milk and vanilla and beat until fluffy. Tint it a deep green and spoon it into a piping bag.
- Cut the trees. Lift the brownie slab onto a cutting board. Cut it lengthwise into three strips, then cut each strip into triangles by alternating the direction of your diagonal cuts.
- Decorate. Pipe green zigzags across each triangle, add sprinkle ornaments and a star on top, then press a short pretzel stick into the base of each tree for the trunk.
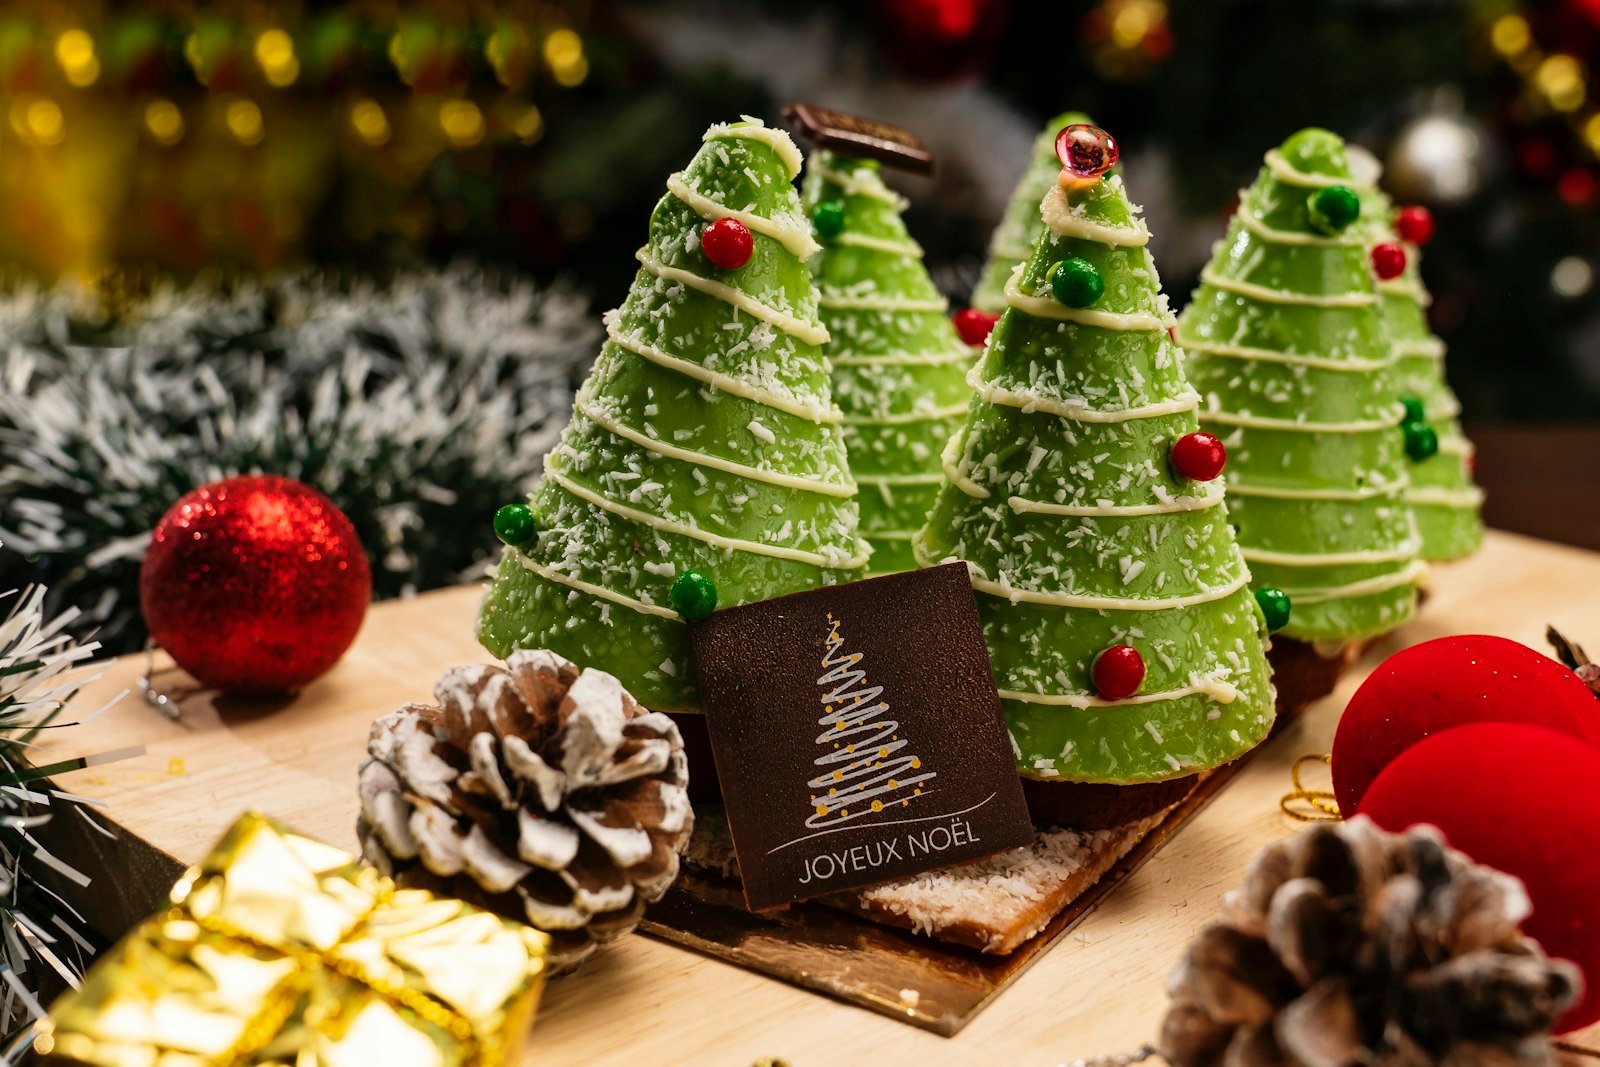
Pipe the frosting while the brownies are still cold from the fridge. The chilled surface sets the buttercream quickly, so the sprinkles stick right where you place them.
How to Cut Brownies into Christmas Trees
The cutting is the part people worry about, but it is easier than it looks. A sharp chef’s knife and cold brownies are the secret.
- Trim a thin strip from the edges if they are dry or uneven, and save the scraps for snacking.
- Cut the slab lengthwise into three long strips, each about 3 inches wide.
- On each strip, make a diagonal cut from one corner across to a point about 3 inches along the opposite edge.
- Make the next diagonal cut in the opposite direction, so the triangles alternate point up and point down along the strip.
- Continue along each strip. You will get about 6 to 7 trees per strip, plus small end pieces.
Wipe the knife clean with a warm, damp towel between cuts. It keeps the edges sharp and keeps crumbs from sticking to the next tree.
Tips for the Best Christmas Brownies
- Do not overbake. Pull the brownies when a toothpick shows a few moist crumbs; they firm up as they cool and chill.
- Use gel food coloring for a deep green without thinning the frosting.
- If the frosting is too soft to pipe clean lines, beat in 2 to 3 more tablespoons of powdered sugar or chill it for 10 minutes.
- No piping bag? Spoon the frosting into a zip-top bag and snip off a small corner.
- Break pretzel sticks into 1-inch pieces and push them in gently at an angle so they do not crack the brownie.
- Set up a decorating station with small bowls of sprinkles so kids can make every tree their own.
If you want a plain pan for everyday cravings, my classic fudgy brownies are the perfect base. For a bigger Christmas cookie tray, add iced Christmas sugar cookies, crunchy homemade peppermint bark and no-bake chocolate-dipped Oreo balls. Explore more sweet ideas in my dessert recipes.
Decorating Ideas and Easy Variations
- Box mix shortcut: Use a family-size brownie mix baked in a 9×13-inch pan according to the package, then cut and decorate the same way.
- Snowy trees: Pipe white buttercream instead of green and dust with edible glitter or coarse sugar.
- Peppermint trees: Add 1/4 teaspoon peppermint extract to the frosting and sprinkle with crushed candy canes.
- Candy ornaments: Use mini candy-coated chocolates, red cinnamon candies or tiny sugar pearls as ornaments.
- Candy cane trunks: Use short pieces of mini candy canes instead of pretzel sticks for a sweeter, striped trunk.
- Chocolate ganache trees: Spread a thin layer of ganache over the slab before cutting, then pipe green garlands on top.
Hosting a Brownie Decorating Party with Kids
Christmas tree brownies are a wonderful activity for a holiday break afternoon. Bake and cut the brownies ahead of time so the fun part is ready to go when the kids sit down, and you avoid hot pans and sharp knives at the table.
- Prep the frosting in bags. Fill a few small piping bags or zip-top bags with green frosting and twist the tops closed so little hands can squeeze easily.
- Set out toppings in muffin tins. Each cup can hold a different sprinkle, candy or broken pretzel stick, which keeps the table tidy.
- Cover the table. Parchment paper or a disposable tablecloth makes cleanup quick.
- Plan for tasting. Set aside the trimmed edges and a little extra frosting for snacking, so the finished trees make it to the platter.
Older kids can practice different piping styles, like loops, dots or swirls, while little ones can simply spread the frosting with a butter knife and pile on the sprinkles. Every tree will be a little different, and that is exactly the charm.
Common Mistakes and How to Fix Them
| Problem | Likely cause | How to fix it |
|---|---|---|
| Ragged, crumbly edges | Brownies cut while warm | Chill for at least 30 minutes and use a sharp knife wiped clean between cuts. |
| Dry brownies | Overbaked | Start checking at 25 minutes and pull them with moist crumbs on the toothpick. |
| Frosting lines spread | Frosting too soft or kitchen too warm | Add powdered sugar or chill the frosting before piping. |
| Pale green frosting | Liquid food coloring | Use green gel coloring and add it a little at a time. |
| Pretzel trunks fall out | Pushed in too shallow or brownie too cold and firm | Insert them about halfway in at a gentle angle after a few minutes at room temperature. |
| Sprinkles will not stick | Frosting has crusted over | Add sprinkles right after piping each tree. |
Make Ahead, Storage and Freezing
Bake the brownies up to 2 days ahead, wrap the whole cooled slab tightly and refrigerate. The frosting keeps in the fridge for up to 1 week; let it soften and rewhip before piping. Cut and decorate the trees up to 1 day before serving, and add the pretzel trunks within a few hours of serving so they stay crisp.
Store decorated trees in a single layer in an airtight container at cool room temperature for up to 2 days or in the refrigerator for up to 5 days. Let chilled brownies sit out for 15 minutes before serving for the fudgiest texture. While you bake, skip tasting the batter; the FDA explains why raw dough and batter are unsafe because of raw flour and eggs.
To freeze, wrap the unfrosted, uncut slab in plastic wrap and foil for up to 3 months. Thaw it overnight in the fridge, then cut and decorate. With Christmas on Friday, December 25, I bake the slab on the weekend before and decorate with the kids on December 23.
Frequently Asked Questions
Can I use a box mix for christmas tree brownies?
Yes. Bake a family-size brownie mix in a 9×13-inch pan as directed, cool and chill it, then cut and decorate as described.
How many trees does one pan make?
A 9×13-inch pan makes about 20 brownie Christmas trees, plus a few small scraps.
How do I get clean triangles?
Chill the brownies for 30 minutes and use a sharp knife, wiping it with a warm damp towel between cuts.
Can I make brownie christmas trees ahead?
Yes. Bake the brownies up to 2 days ahead and decorate up to 1 day before serving.
Do these brownies need to be refrigerated?
They keep at cool room temperature for 2 days. Refrigerate them for longer storage, up to 5 days.
Ready to bake? Here is the full printable Christmas tree brownies recipe with exact measurements, baking time and estimated nutrition.
Christmas Tree Brownies
Ingredients
Method
- Heat the oven to 350°F (175°C). Grease a 9×13-inch pan and line with a parchment sling.
- Whisk the melted butter and sugar. Whisk in the eggs one at a time, then the vanilla, until glossy.
- Sift in the cocoa, add the flour and salt and fold just until combined. Fold in the chocolate chips if using.
- Spread in the pan and bake 25 to 30 minutes, until a toothpick shows a few moist crumbs.
- Cool completely in the pan, about 1 hour, then refrigerate 30 minutes.
- Beat the butter until creamy. Add the powdered sugar, milk and vanilla and beat until fluffy. Tint deep green and transfer to a piping bag.
- Lift the slab onto a board. Cut lengthwise into three 3-inch strips, then cut each strip into alternating triangles.
- Pipe green zigzags over each tree, add sprinkles and a star on top.
- Press a pretzel piece into the base of each tree as the trunk. Serve or store.
Notes
I hope these little brownie trees bring lots of smiles and sprinkles to your holiday kitchen. If you make them, please leave a comment and a star rating below and tell me how you decorated your forest. Merry Christmas and happy baking, friends. Chef Amber
Free email bonus
30-Minute Meals
Loved this recipe? Get my collection of fast, family-favorite dinners, plus new seasonal recipes straight to your inbox.