
If you have ever been scared off by candy thermometers and sugar crystals, this easy chocolate fudge is for you. It uses just three ingredients, takes about 10 minutes of effort and sets up into smooth, rich, melt-in-your-mouth squares that taste like something from a candy shop.
In this post I cover the three ingredients and why each one matters, the exact steps for the microwave and stovetop methods, how to cut clean squares and how to fix fudge that is too soft or grainy. You will also find mix-in ideas, gifting tips for the holidays and storage advice. The full printable recipe card is waiting at the bottom of the post.
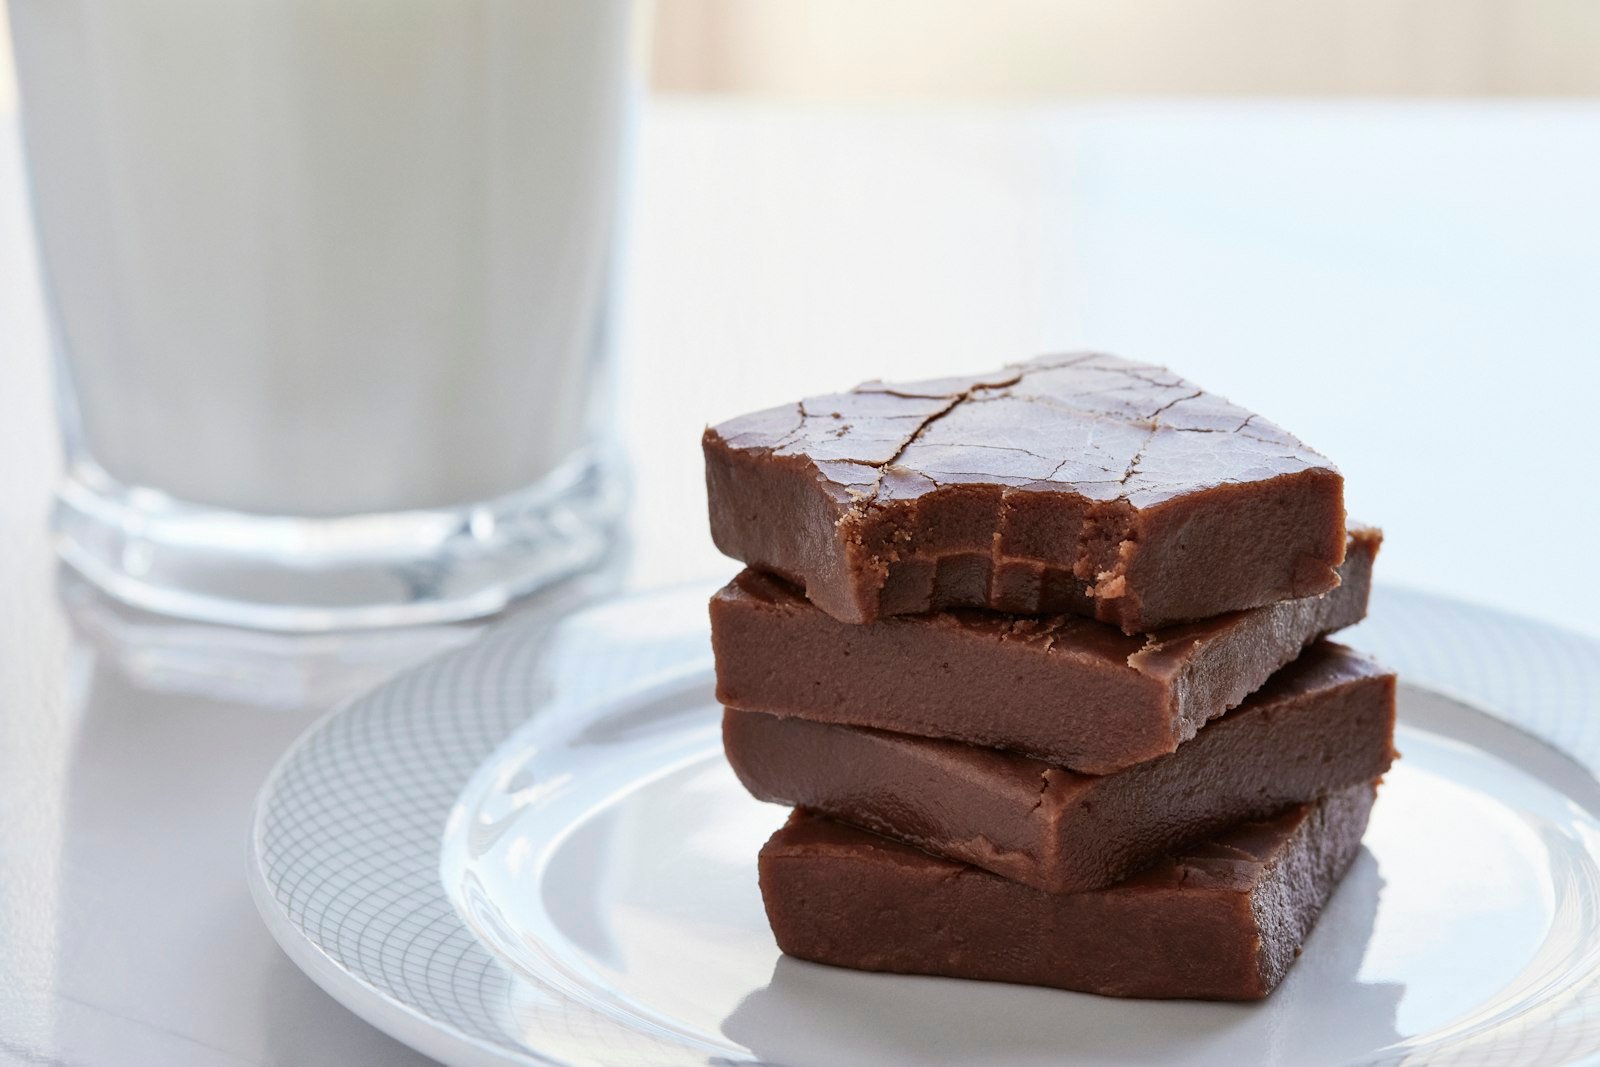
Why This Easy Chocolate Fudge Works
Old-fashioned fudge is a candy that depends on careful sugar temperatures. This version skips that entirely by using sweetened condensed milk, which already contains the sugar and milk solids that make fudge creamy.
- No thermometer needed. You simply melt chocolate into condensed milk, so there is no sugar syrup to monitor.
- Foolproof texture. The mixture is naturally smooth and cannot turn grainy the way cooked sugar fudge can.
- Only a few minutes of work. Melting takes about 5 minutes, and the refrigerator does the setting.
- Easy to customize. It is a perfect blank canvas for nuts, mint, peanut butter and sprinkles.
It is the kind of recipe I hand to beginners and kids, because the result is almost always a success. Even if the fudge looks a little rough on top, a spatula dipped in hot water and a handful of toppings will hide it.
The 3 Ingredients You Need
With such a short list, quality matters. Here is what to buy and why.
- Semisweet chocolate chips: Three cups (about 18 ounces or 510 g). Choose a brand you enjoy eating on its own. Chocolate chips contain stabilizers that help the fudge set firmly.
- Sweetened condensed milk: One 14-ounce (397 g) can. Do not substitute evaporated milk, which is unsweetened and will not set.
- Pure vanilla extract: One teaspoon deepens the chocolate flavor. It is technically the third ingredient, along with a tiny pinch of salt that I add for balance.
Line your pan with parchment or foil, leaving an overhang on two sides. This is the single best trick for lifting the fudge out in one piece, which makes cutting neat squares much easier.
How to Make Easy Chocolate Fudge
You can melt the chocolate in the microwave or on the stovetop. Both methods work, so choose whichever is more convenient.
- Line the pan. Line an 8×8-inch baking pan with parchment paper, leaving a 2-inch overhang on two sides. Lightly butter the paper if you like.
- Combine. In a medium microwave-safe bowl, combine the chocolate chips and sweetened condensed milk.
- Melt in the microwave. Heat for 30 seconds, stir, then heat in 15-second bursts, stirring each time, until the chocolate is almost entirely melted. This usually takes 1 1/2 to 2 minutes total.
- Or melt on the stovetop. Combine in a saucepan over low heat and stir constantly until smooth, about 4 to 5 minutes.
- Finish. Stir in the vanilla and salt until the fudge is glossy and completely smooth. Work quickly, because it starts to thicken.
- Spread. Scrape the fudge into the prepared pan and smooth the top with a spatula dipped in hot water.
- Chill. Refrigerate for at least 2 hours, until firm all the way through.
- Cut. Lift the fudge out by the parchment, then cut into 36 squares with a sharp knife wiped clean between cuts.
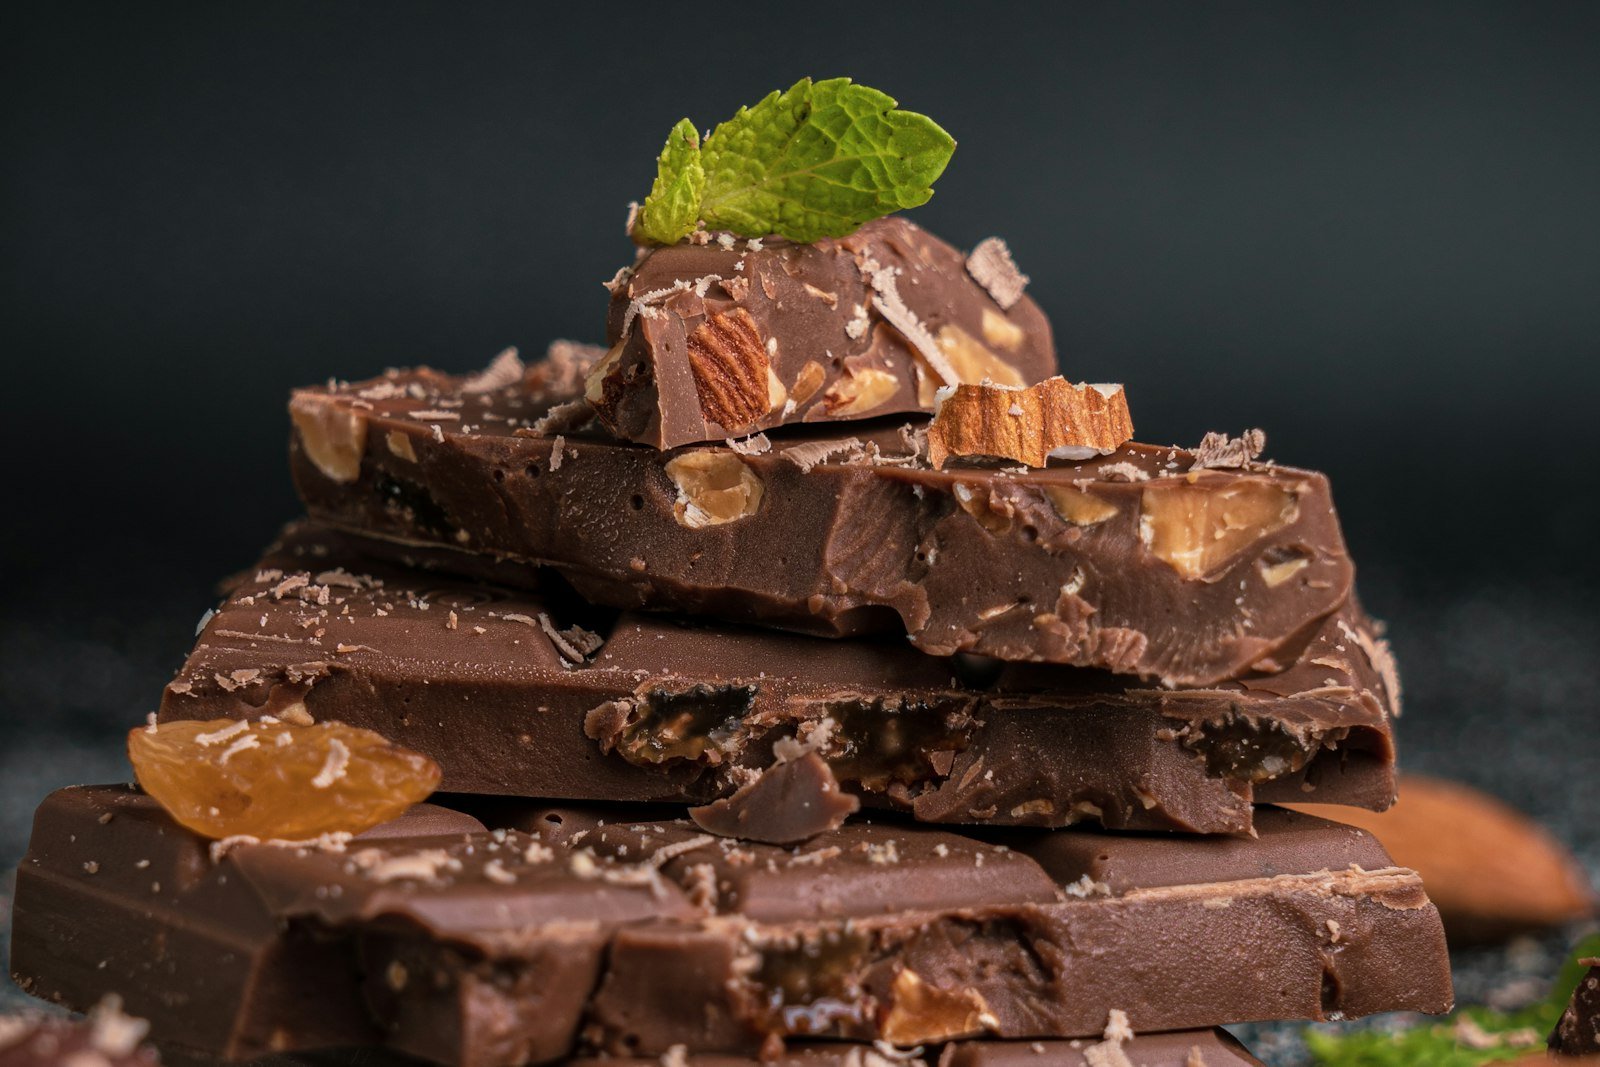
If you see a few small chocolate flecks after melting, do not keep heating. The warm condensed milk will melt them as you stir.
Tips for the Smoothest Fudge
- Stir off the heat. Chocolate burns easily, so stop heating when it is nearly melted and let the residual heat finish the job.
- Use a dry bowl and spatula. Even a drop of water can make melted chocolate seize and turn stiff and grainy.
- Warm your knife in hot water and dry it before cutting. It slices through the fudge without cracking it.
- Press toppings gently into the surface right after spreading so they stick.
- Let the fudge sit at room temperature for about 10 minutes before cutting if it feels very hard from the refrigerator.
If you are building a holiday dessert board, pair this fudge with my soft gingerbread cookies, a batch of decorated Christmas sugar cookies and a platter of sweet puppy chow. You can find more sweet ideas in my holiday recipe collection.
Microwave or Stovetop: Which Method Is Better?
Both methods give you the same fudge, so the choice comes down to your kitchen and your comfort level. I use the microwave most often because it is fast and there is only one bowl to wash.
- Microwave: Best for speed. Short bursts and frequent stirring prevent scorching. Use a bowl that is larger than you think you need so you can stir without spilling.
- Stovetop: Best for control. Low heat and constant stirring let you see exactly when the chocolate has melted. A heavy-bottomed saucepan protects against hot spots.
- Double boiler: The gentlest option. Set a heatproof bowl over barely simmering water, making sure the bottom does not touch the water, and stir until smooth.
Whichever you choose, the goal is the same: melt the chocolate just until it is smooth and glossy, then stop. Overheated chocolate turns dull and oily, and no amount of stirring will bring it back to a perfect texture.
Choosing the Right Chocolate
Because the recipe has only three ingredients, the chocolate is the whole flavor, and different types give noticeably different fudge.
- Semisweet chips: The balanced classic. Rich but not bitter, and it sets firmly.
- Bittersweet chips: Deeper and more grown-up. Pair them with a pinch of flaky salt on top.
- Milk chocolate chips: Sweeter and softer. Great for kids, but the fudge needs a bit more chilling time.
- Chopped chocolate bars: They taste wonderful but may not set as firmly as chips, so use chips when you want guaranteed squares.
Whatever you pick, avoid chocolate that has white bloom or a stale smell, since the fudge will taste exactly like the chocolate you start with.
Easy Fudge Variations
The base recipe is wonderful plain, but it also takes well to creative mix-ins. Stir these in at the end, right before spreading the fudge into the pan.
- Walnut or pecan fudge: Fold in 3/4 cup of chopped toasted nuts for the classic version.
- Peppermint fudge: Replace the vanilla with 1/2 teaspoon of peppermint extract and top with crushed candy canes.
- Peanut butter swirl: Dollop 1/3 cup of warmed creamy peanut butter on top and swirl with a knife.
- Salted caramel fudge: Swirl in 1/4 cup of caramel sauce and finish with flaky sea salt.
- Rocky road fudge: Fold in 1 cup of mini marshmallows and 1/2 cup of chopped nuts.
- White chocolate fudge: Use white chocolate chips instead and add festive sprinkles.
Giving Fudge as a Holiday Gift
Fudge is one of the best edible gifts because it travels well, keeps for days and looks beautiful. Christmas is on Friday, December 25, 2026, and this recipe is easy to make a week or two ahead so you can focus on everything else.
- Use a tin or box: Layer the squares between sheets of parchment so they do not stick together.
- Keep it cool: Store gifts in a cool spot and tell recipients to refrigerate them if their home is warm.
- Label it: Include a small tag noting any nuts, which are a common allergen.
- Make a trio: Divide the batch into three small pans and make plain, peppermint and nut versions for a gift box.
One 8×8 batch makes 36 small squares, which is plenty for several gift boxes.
Common Mistakes and How to Fix Them
| Problem | Likely cause | How to fix it |
|---|---|---|
| Fudge will not set | Evaporated milk used instead of condensed milk or not chilled long enough | Use sweetened condensed milk and chill at least 2 hours, or overnight if still soft. |
| Grainy or stiff fudge | Chocolate seized from water or overheating | Use dry tools, heat gently and stop when nearly melted. |
| Greasy surface | Chocolate got too hot and separated | Melt slowly and stir in a splash of warm milk to bring it back together. |
| Crumbly squares | Fudge was cut while ice cold | Let it sit 10 minutes and use a warm, dry knife. |
| Too sweet | Only milk chocolate used | Use semisweet or bittersweet chips and a pinch of salt. |
Make Ahead, Storage and Reheating
Fudge made with dairy should be stored with care. Keep it in an airtight container in the refrigerator for up to 2 weeks, and let it sit at room temperature for a few minutes before serving. The USDA guidance on leftovers and food safety is a helpful reminder to refrigerate perishable foods promptly, and that includes sweets made with milk products.
To freeze fudge, wrap the whole slab or individual squares tightly and freeze for up to 3 months. Thaw it overnight in the refrigerator. Fudge does not need reheating, but if it feels too firm, simply let it come to room temperature for 10 to 15 minutes.
Frequently Asked Questions
Why is my 3 ingredient fudge not setting?
Make sure you used sweetened condensed milk, not evaporated milk, and chill the pan for at least 2 hours. If it is still soft, refrigerate it overnight.
Can I make chocolate fudge without a candy thermometer?
Yes. This recipe melts chocolate chips into sweetened condensed milk, so there is no sugar syrup to temperature check.
How long does homemade fudge last?
Stored in an airtight container in the refrigerator, it keeps for up to 2 weeks. You can also freeze it for up to 3 months.
Can I use milk chocolate or white chocolate chips?
Yes, but milk and white chocolate are softer. Use the same amounts and chill a little longer, or reduce the condensed milk slightly if the fudge seems loose.
How do I get clean, sharp squares?
Lift the chilled fudge out by the parchment and cut with a sharp knife dipped in hot water and wiped dry between cuts.
Ready to make fudge? Here is the full printable easy chocolate fudge recipe with exact measurements and estimated nutrition.
Easy Chocolate Fudge
Ingredients
Method
- Line an 8×8-inch baking pan with parchment paper, leaving a 2-inch overhang on two sides.
- Combine the chocolate chips and sweetened condensed milk in a microwave-safe bowl. Heat for 30 seconds, stir, then heat in 15-second bursts, stirring each time, until almost melted, about 1 1/2 to 2 minutes total. Or melt in a saucepan over low heat, stirring constantly, for 4 to 5 minutes.
- Stir in the vanilla and salt until the fudge is glossy and completely smooth.
- Scrape the fudge into the pan and smooth the top with a spatula. Add any toppings and press them in gently.
- Refrigerate for at least 2 hours until firm.
- Lift the fudge out by the parchment and cut into 36 squares with a sharp knife wiped clean between cuts.
Notes
I hope this easy chocolate fudge makes your holiday baking a little sweeter and a lot simpler. If you make it, please leave a comment and a star rating below and tell me which mix-in you chose. Happy cooking, friends. Chef Amber
Free email bonus
30-Minute Meals
Loved this recipe? Get my collection of fast, family-favorite dinners, plus new seasonal recipes straight to your inbox.