
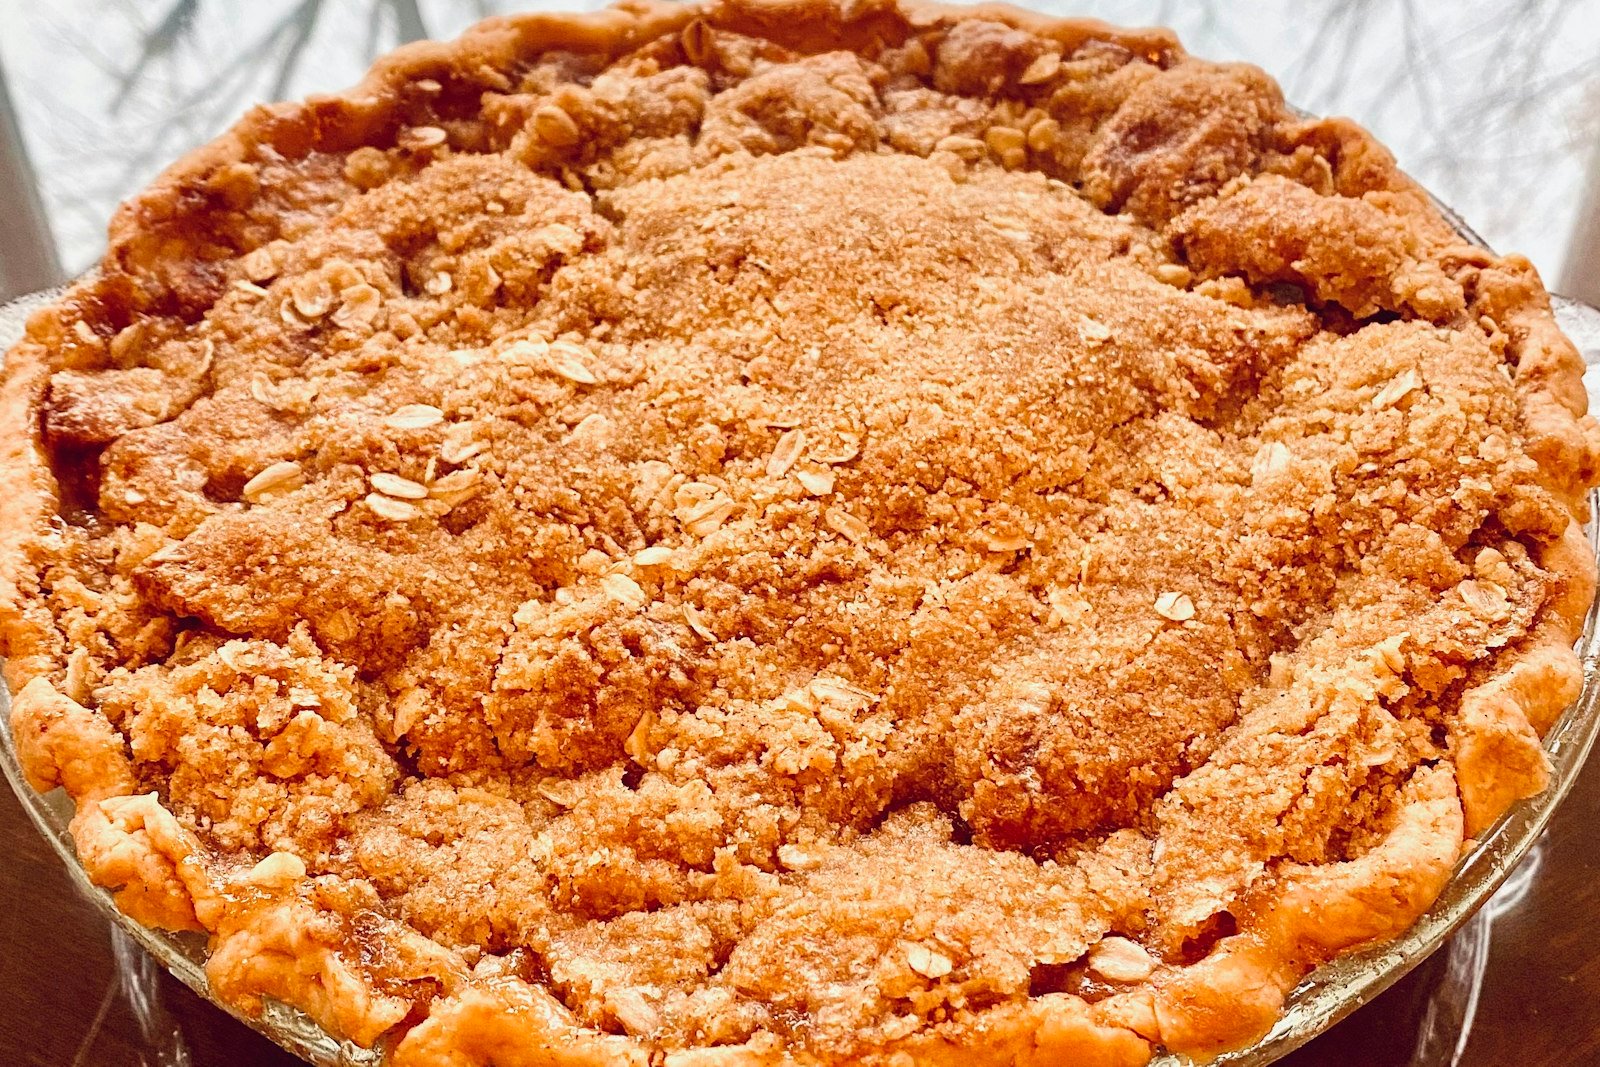
A dutch apple pie is what happens when classic apple pie meets a crunchy brown sugar streusel. Instead of a lattice or top crust, you get a thick, buttery crumb topping over tender cinnamon apples, all in a crisp golden crust. It is easier to make than a double-crust pie and, in my opinion, even more fun to eat.
In this post I explain which apples to use, how to keep the filling from turning soupy, how to build the crumb topping and how to bake the pie so it browns without burning. I also share variations, a troubleshooting table and make-ahead advice for the holidays. The full printable recipe card is waiting at the bottom of the post.
Why This Dutch Apple Pie Recipe Works
Apple pie can go wrong in a few predictable ways: a watery filling, a gap under the top, or apples that are either rock hard or mushy. This recipe solves each one.
- A mix of apples. Firm-tart apples hold their shape, while a softer sweet apple breaks down slightly and makes a little natural sauce.
- Tossed in sugar first. Letting the sliced apples sit with sugar and spices draws out juice, which you thicken before baking so the pie slices cleanly.
- Cornstarch thickener. It turns the apple juices into a glossy, spoonable sauce rather than a puddle.
- Cold butter crumb. Cold butter gives a topping that bakes up crisp and sandy instead of greasy.
- No top crust to fight with. There is no rolling, no lattice and no trapped steam, which makes this ideal for beginners.
It is a pie with big flavor and very little stress, which is exactly what I want when I am baking for a crowd. Everything can be prepped in stages, so you can make the crumb a day ahead and keep it in the refrigerator until you are ready to bake.
Choosing the Best Apples for Apple Pie
The apples you pick decide the texture of the pie. Look for varieties that stay firm in the oven and have a bright, tangy flavor to balance the sugar.
- Granny Smith: The classic tart baking apple. It holds its shape beautifully and never turns to mush.
- Honeycrisp: Sweet, juicy and crisp, with a flavor that stays lively after baking.
- Braeburn or Jonagold: Firm, balanced and aromatic, both are excellent in pie.
- Golden Delicious: Softer and sweeter, so it adds a tender, saucy element when mixed with a firmer apple.
I like about half Granny Smith and half a sweeter variety. Avoid very soft apples such as Red Delicious, which turn mealy and watery when baked.
Ingredients You Will Need
The recipe has three parts, the crust, the apple filling and the crumb, and none of them need special ingredients.
- Pie crust: One 9-inch unbaked crust, homemade or refrigerated. Use a deep-dish plate if you have one.
- Apples: About 2 1/2 pounds (1.1 kg), or 6 medium apples, peeled, cored and sliced about 1/4 inch thick.
- Sugar and brown sugar: A little of each sweetens the filling and adds a caramel note.
- Cornstarch and lemon juice: The cornstarch thickens the juices and the lemon keeps the flavor bright.
- Cinnamon and nutmeg: Classic warm spices that make the whole kitchen smell like fall.
- Flour, oats and butter: The crumb topping uses all-purpose flour, a little rolled oat for texture and cold cubed butter.
How to Make Dutch Apple Pie
Plan on about 30 minutes of prep and an hour or more in the oven. The oven does most of the work.
- Heat the oven. Place a rack in the lower third with a rimmed baking sheet on it and heat the oven to 375°F (190°C).
- Prepare the crust. Fit the crust into a 9-inch pie plate, crimp the edges and chill while you make the filling.
- Season the apples. Toss the sliced apples with the sugars, cinnamon, nutmeg, salt and lemon juice. Let them sit for 15 minutes, then stir in the cornstarch.
- Make the crumb. Mix the flour, oats, brown sugar, cinnamon and salt, then work in the cold butter with your fingers until large, clumpy crumbs form.
- Fill the pie. Pile the apples into the crust, mounding them in the center, and pour over any juices.
- Top with crumb. Press the crumb into loose clumps and spread it evenly over the apples all the way to the edges.
- Bake. Set the pie on the baking sheet and bake for 65 to 75 minutes, covering loosely with foil for the last 20 minutes if the topping browns too fast. The juices should bubble thickly and a knife should slide easily into the apples.
- Cool. Cool on a wire rack for at least 2 hours so the filling can set before slicing.
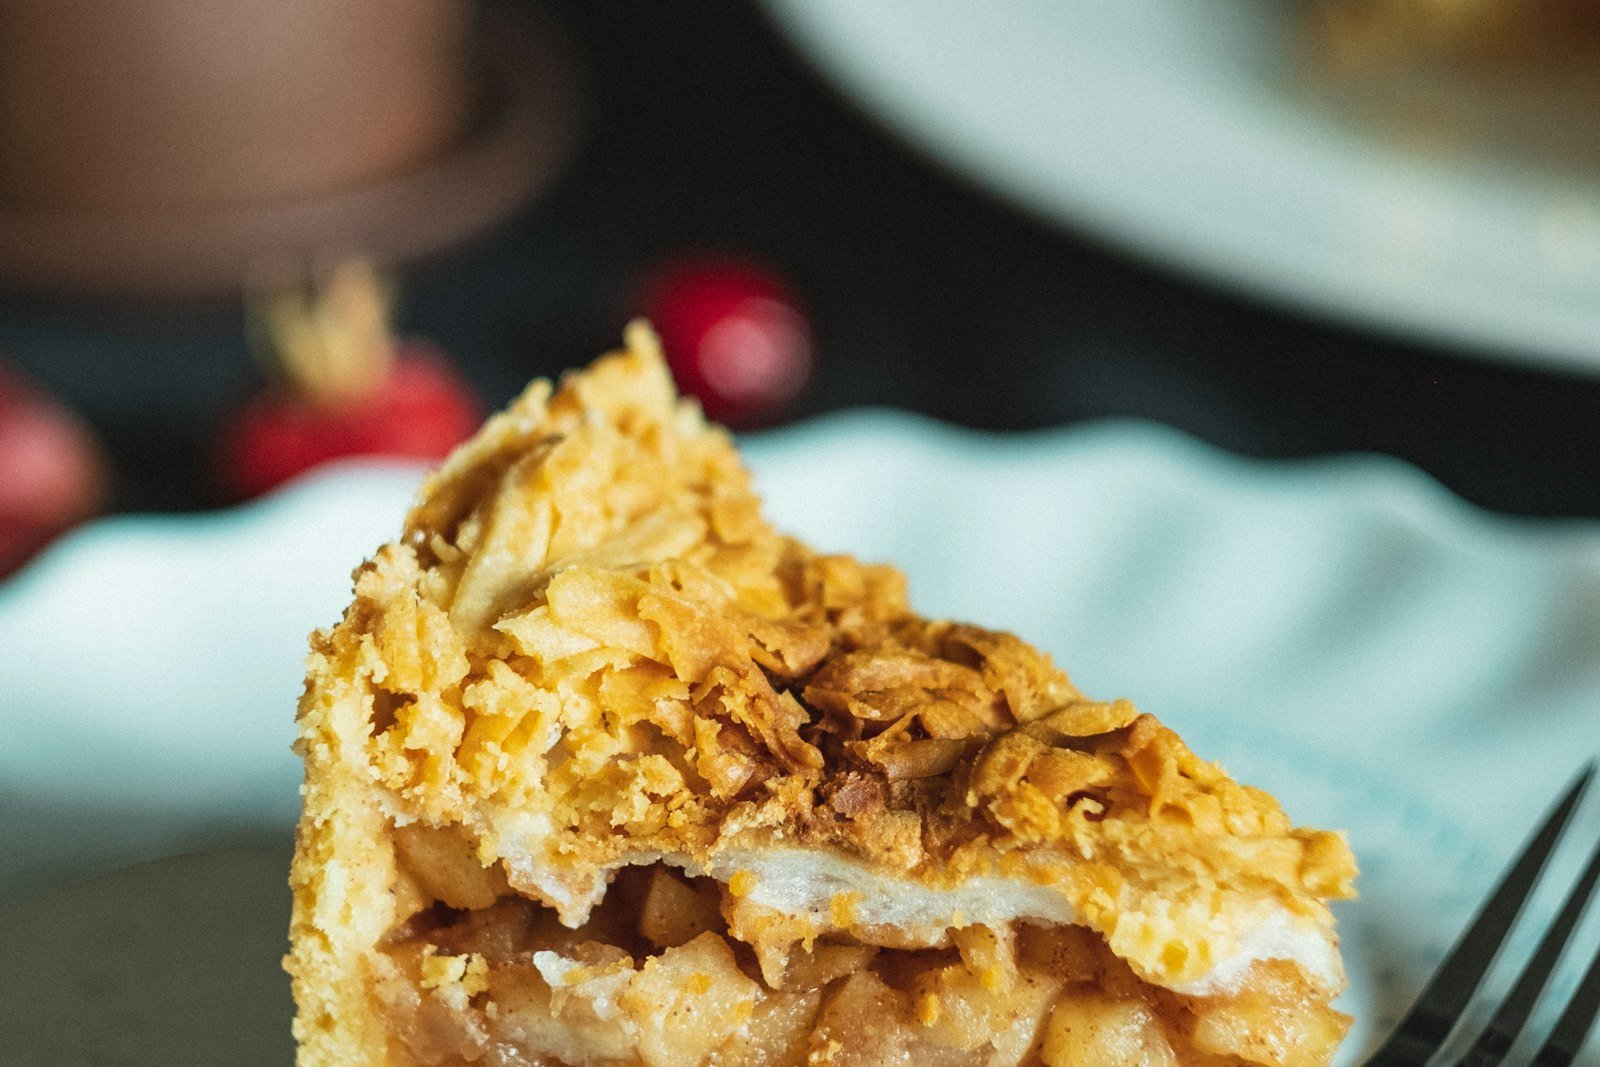
The bubbling juices around the edge are your best doneness signal. If they are not thick and slow, give the pie another 5 to 10 minutes. Because apples vary in water content, trust the look of the filling more than the clock.
Tips for the Best Apple Pie with Crumb Topping
- Use cold butter for the crumb and keep some pieces pea-size. Those pieces melt into crisp pockets.
- Pile the apples high. They shrink as they bake, and a mounded pie ends up level and full.
- Do not skip the resting time for the apples. It draws out juice that you can thicken instead of letting it leak later.
- Bake on a preheated baking sheet to catch drips and brown the bottom crust.
- Wait for the pie to cool. Slicing a hot apple pie gives a runny, messy plate.
For a holiday dessert spread, serve this pie beside my silky classic pumpkin pie, a warm apple crisp with an oat topping and a tray of caramel apple bars. More ideas live in my dessert recipe collection.
How to Serve Dutch Apple Pie
Dutch apple pie is wonderful warm, but it slices best once it has cooled for a couple of hours. If you want a warm slice, reheat portions rather than the whole pie.
- Vanilla ice cream: The classic partner, and the melting scoop makes its own sauce.
- Caramel drizzle: A spoonful of warm caramel sauce over each slice makes it feel special.
- Sharp cheddar: A thin slice on the side is an old New England tradition and tastes great with the tart apples.
- Whipped cream: Lightly sweetened with a pinch of cinnamon.
If you love the apple-and-caramel combination, my cream cheese caramel apple dip is a fun starter for the same party.
Why the Crumb Topping Matters
The crumb is what sets a dutch apple pie apart, so it deserves a little attention. It should be thick, clumpy and buttery, with some pieces the size of a marble and some as fine as sand. That mix gives you both crunch and tenderness in every bite.
Work the butter in with your fingertips rather than a food processor, and squeeze handfuls of the mixture together to make larger clumps. If your kitchen is warm and the butter starts to soften, slide the bowl into the refrigerator for 10 minutes before topping the pie. Cold crumbs hold their shape in the oven and bake up crisp instead of melting flat.
Oats are optional, but I love what they add. They toast as the pie bakes and give the topping a nutty, bakery-style texture. If you prefer a classic sandy streusel, replace the oats with an extra 1/3 cup of flour.
Easy Variations
- Caramel dutch apple pie: Drizzle 1/4 cup caramel sauce over the apples before adding the crumb.
- Pecan crumb: Stir 1/2 cup chopped pecans into the topping for extra crunch.
- Cranberry apple pie: Replace 1 cup of apples with fresh cranberries and add 2 tablespoons more sugar.
- Gluten-free: Use a gluten-free crust and swap the crumb flour for a one-to-one gluten-free blend.
- Mini pies: Bake the filling and crumb in ramekins for about 35 to 40 minutes.
Common Mistakes and How to Fix Them
| Problem | Likely cause | How to fix it |
|---|---|---|
| Runny filling | Not enough thickener or cut while hot | Use the cornstarch, bake until juices bubble thickly and cool 2 hours. |
| Gap under the topping | Apples shrank during baking | Mound the apples high in the crust before adding the crumb. |
| Burnt crumb topping | Oven too hot or pie too high | Bake on the lower rack and cover with foil for the last 20 minutes. |
| Soggy bottom crust | Wet filling and cool oven | Bake on a preheated baking sheet and let apples drain slightly. |
| Mushy apples | Soft apple variety | Use firm baking apples such as Granny Smith or Honeycrisp. |
Make Ahead, Storage and Reheating
Baked apple pie can sit at room temperature for a day, but the USDA guidance on leftovers and food safety recommends refrigerating perishable foods within 2 hours. For longer storage, cover the pie and refrigerate it for up to 4 days.
To make it ahead, bake the pie up to 2 days before serving, or assemble it unbaked, freeze it solid and bake from frozen, adding 15 to 20 minutes. Rewarm slices in a 325°F (160°C) oven for 10 to 15 minutes to crisp the topping again.
Frequently Asked Questions
What is the difference between dutch apple pie and regular apple pie?
A dutch apple pie has a crumb or streusel topping instead of a top crust. The filling is similar, but the crumb adds buttery crunch and is much easier to make.
What are the best apples for dutch apple pie?
Firm baking apples such as Granny Smith, Honeycrisp, Braeburn and Jonagold hold their shape. Mixing tart and sweet varieties gives the best flavor.
Why is my apple pie filling runny?
Apples release a lot of juice. Toss them with cornstarch, bake until the juices bubble thickly and cool the pie for at least 2 hours.
Can I make dutch apple pie ahead of time?
Yes. Bake it up to 2 days ahead and refrigerate, or freeze the unbaked pie and bake from frozen.
Does apple pie need to be refrigerated?
Yes, for longer than a couple of hours. Cover and refrigerate it and enjoy within 4 days.
Ready to bake? Here is the full printable dutch apple pie recipe with exact measurements, baking times and estimated nutrition.
Dutch Apple Pie
Ingredients
Method
- Place a rack in the lower third of the oven with a rimmed baking sheet on it and heat the oven to 375°F (190°C).
- Fit the crust into a 9-inch pie plate, crimp the edges and chill.
- Toss the apples with both sugars, cinnamon, nutmeg, salt and lemon juice. Let stand 15 minutes, then stir in the cornstarch.
- Mix the flour, oats, brown sugar, cinnamon and salt. Work in the cold butter with your fingers until large, clumpy crumbs form.
- Mound the apples and their juices in the crust, then spread the crumb evenly over the top.
- Bake on the baking sheet for 65 to 75 minutes, covering loosely with foil for the last 20 minutes if the topping browns too fast, until the juices bubble thickly and the apples are tender.
- Cool on a wire rack for at least 2 hours before slicing.
Notes
I hope this dutch apple pie becomes a fall favorite in your home. If you bake it, please leave a comment and a star rating below and tell me which apples you used. Happy baking, friends. Chef Amber
Free email bonus
30-Minute Meals
Loved this recipe? Get my collection of fast, family-favorite dinners, plus new seasonal recipes straight to your inbox.